What Changed Recently in Classifieds Photo Moderation and What Sellers Should Do
Learn what changed recently in classifieds photo moderation and what sellers should do to fix image issues, avoid rejection, and re-upload correctly.
On this page
- What Changed Recently in Classifieds Photo Moderation and What Sellers Should Do
- 1. Photo-only scope: decide whether the issue is images, not the whole listing
- 2. Check the newest photo requirements in the seller workflow
- 3. Audit the current photo set before re-uploading
- 4. Match each photo to the item and category
- 5. Fix common moderation triggers on images
- 6. Re-submit with a cleaner image order
- 7. Handle a previously approved ad that now fails on photos
- 8. Build a safer photo routine for future listings
What Changed Recently in Classifieds Photo Moderation and What Sellers Should Do
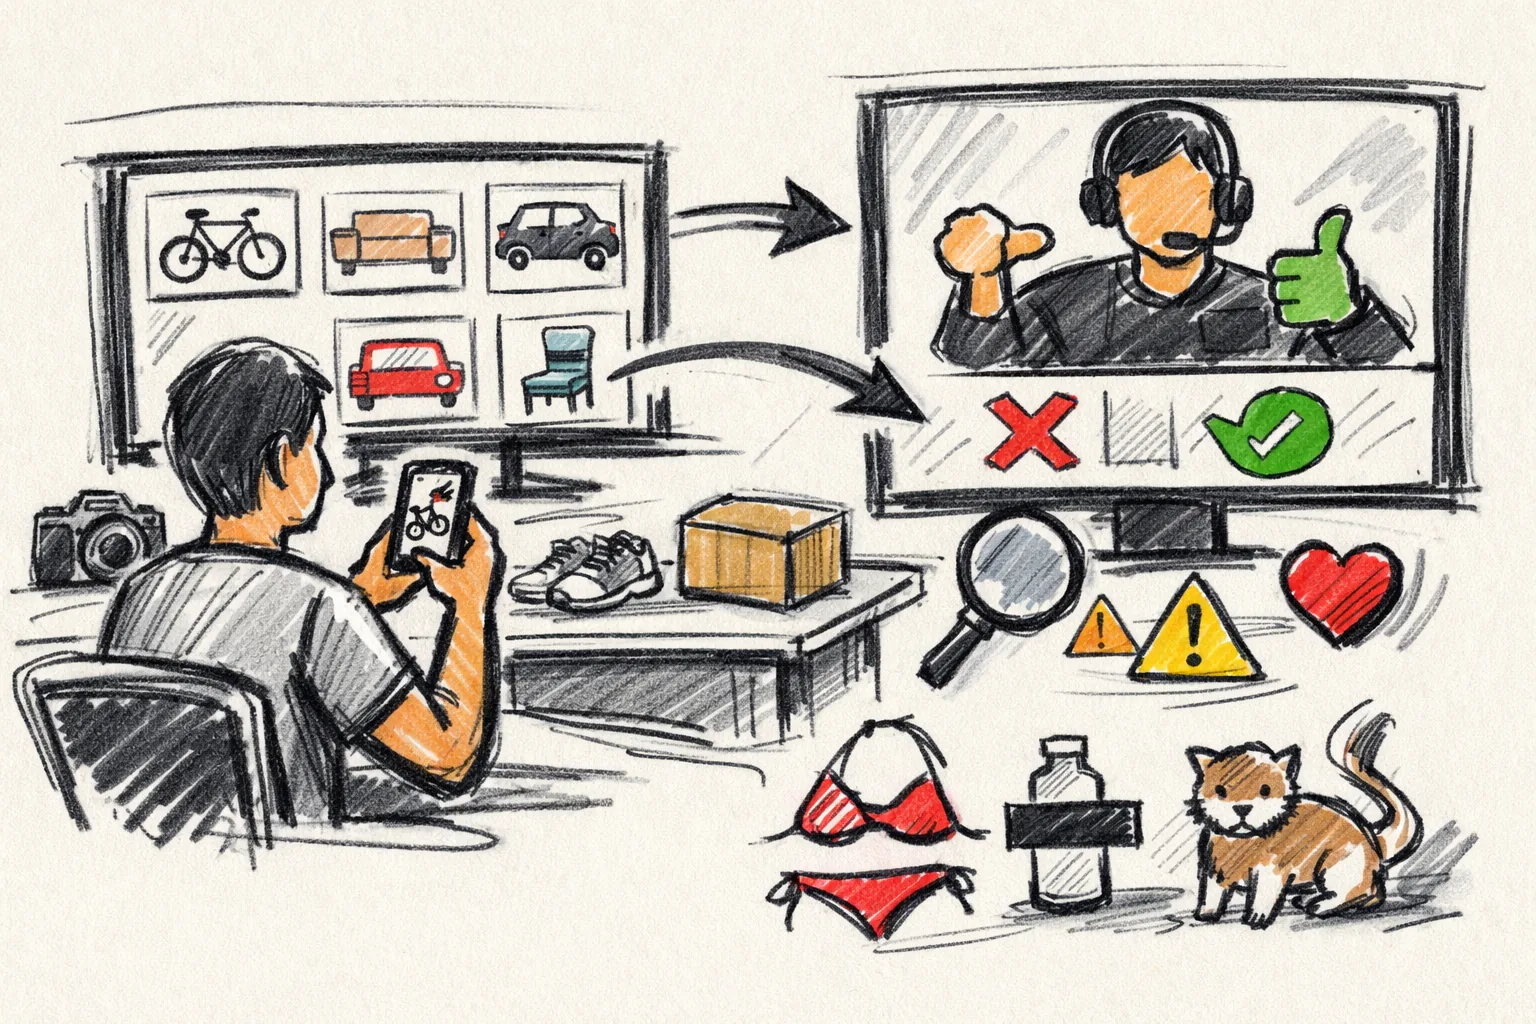
Photo moderation has become more selective, and sellers are feeling it first. A listing can have clean text, a fair price, and the right category, then stall because one photo looks copied, cropped badly, or too promotional. The phrase sellers keep asking about is simple: what changed recently in classifieds photo moderation and what sellers should do. The short answer is that images are being checked more like evidence now. A blurry picture is no longer a small flaw.
1. Photo-only scope: decide whether the issue is images, not the whole listing
Start with one question: did the text pass, but the photos did not? That distinction matters, because a photo-only problem calls for a different fix than a title, category, or price issue. If your ad copy describes a chair correctly, yet the listing sits in review after you upload three photos, the image set is the first place to look. One bad file can hold up the rest. Even a perfect description will not save a rejected image set.
Look for the moderation pattern. If the same listing approved yesterday with one set of photos and failed today after you swapped the images, the photo set is the likely trigger. If you changed the text, location, and photos all at once, untangle those changes one by one. Sellers lose time when they edit five things and then guess which one caused the block. The better move is to isolate the photo issue first, then test the rest later.
2. Check the newest photo requirements in the seller workflow
Before you upload again, read the image rules inside the seller workflow, not just the general listing rules. Photo checks often cover size, sharpness, duplicate images, watermarks, collage layouts, and text overlays. Those details sound small, but they can decide whether a post is approved in 2 minutes or sent back for revision. One banner at the bottom of a photo can be enough.
Pay attention to anything that looks like advertising. A photo with a logo strip, a price tag pasted on the corner, or a phone number embedded in the image may now face review even if the product itself is allowed. The same goes for images with too much compression, because moderation tools often treat low-quality files as unreliable. If the platform asks for original photos, give original photos. Not screenshots.
Some categories have tighter rules than others, and the rules can shift without a dramatic announcement. That is why sellers who ship through ads should also read guides like वर्गीकृत विज्ञापनों पर बेचते समय शिपिंग when the listing involves delivery, payment, or off-platform contact. A photo that suggests a deal is happening outside the platform can create a second problem that has nothing to do with image quality. One picture can trigger two checks.
3. Audit the current photo set before re-uploading
Do a full audit before you press upload again. Pull out every image that is dark, cropped too tightly, heavily edited, or nearly identical to another one. Keep the clearest original shots first. That order matters. If you lead with a blurry close-up of the corner of a sofa, moderation may never reach the photo that actually shows the item.
Be strict with duplicates. Three nearly identical images of the same mug do not help; they make the set look padded. A better set uses 4 or 5 useful images: one full view, one close-up of wear, one of the label, and one of any included accessory. If the category allows only a few photos, keep the strongest ones and cut the extras. Sellers often try to “show more,” but moderation reads repetition as noise.
Also check the file itself. A photo may look fine in your phone gallery and still upload poorly if it has been reposted through another app. Compression can wash out edges, and a washed-out edge can look like an edited area. The fix is plain: re-export from the original file if you still have it.
4. Match each photo to the item and category
Every image should prove something specific. If you are selling a set of four dining chairs, one image should show all four chairs together. If you are selling a laptop, one image should show the actual device, and another should show the ports or the serial area if that is relevant and allowed. The photo set should answer the buyer’s basic questions in 3 seconds. If it does not, moderation may treat it as incomplete.
Category fit matters too. A photo that works for furniture may fail for electronics if it hides key details. A single shoe photo might be fine for apparel, but a bundle of ten shoes should show quantity clearly. If the condition is used, the photo should not hide scuffs under filters or blur. One realistic photo is better than five flattering ones. Sellers sometimes think they are protecting a sale; moderation sees a mismatch instead.
Accessories need the same treatment. If a camera listing includes a strap and battery, show them. If a phone is sold with a charger, place the charger next to the device so buyers can see what is included. The item count should be visible in the image set, not left to the title. That prevents complaints later, and it also reduces re-review if the platform checks whether the photo set matches the category rules.
5. Fix common moderation triggers on images
Some triggers are predictable. Stock photos are one of them. If the image looks like it came from a manufacturer page rather than your own camera, expect scrutiny. Screenshots are another problem, especially when they include interface bars, browser tabs, or chat windows. Promotional banners can also be a problem, because the photo starts to look like an ad for a service instead of proof of the item. Moderation does not need many clues.
Remove contact cards from photos. A picture with a phone number, email address, QR code, or social handle can be flagged even when the item is real. Before-and-after composites can also cause trouble if they make the condition unclear or if they look like a transformation ad instead of a plain classified listing. The cleaner move is to use a single image per angle, not a collage. Simple wins here.
Text overlays need a second look. If you added words like “urgent sale,” “best price,” or “DM now” on top of the image, remove them. The same goes for watermark-heavy images, even if the watermark is yours. A watermark may be acceptable in some cases, but if it obscures the item, it can still hurt approval. One clean photo beats one branded photo every time.
6. Re-submit with a cleaner image order
Order is part of the fix. Lead with the strongest proof photo, then follow with detail shots, then condition shots, then accessories. Put the best evidence first, because moderation often reviews the first few images most closely. If you place three weak photos up front, you invite delay. If you place the clearest photo first, you give the reviewer the easiest path through the listing.
Avoid unnecessary repeats in the re-upload. Repeating the same angle four times can look spammy, especially if the image set is short. One front view, one side view, one close-up, and one context shot is usually stronger than six nearly identical frames. If the listing still needs more proof, add a photo of measurements, not another copy of the front shot. The rule is simple: every image should add new information.
If your listing also touches shipping, make sure the photo order does not hint at a payment process or off-platform move. A buyer can get curious, and moderation can get suspicious. For sellers who need a reminder on transaction safety, the guidance in वर्गीकृत विज्ञापनों पर बेचते समय शिपिंग is a useful companion read. One careless image can drag a shipping discussion into a photo review.
7. Handle a previously approved ad that now fails on photos
This is the most frustrating case. Yesterday the ad passed. Today it fails. Do not start by rewriting the title. Swap only the flagged images first, then submit again. That isolates the problem and avoids creating a new one. If the listing passes after the image swap, you have your answer. If it still fails, a category-specific photo rule may be active.
Check whether the platform has changed how it treats certain categories. An approved ad can fail later if the category now demands a clearer main photo, a different number of images, or a stricter view of condition details. That can happen without changing the ad text at all. The seller sees inconsistency; the system sees a new rule. So treat the old approval as history, not as a guarantee.
If the listing is blocked, compare the new photo set with the old one line by line. Did you add a collage? Did you crop out the serial label? Did you replace your own photo with a manufacturer shot? One of those changes is often enough. Keep a copy of the previously approved set if you can. That gives you a clean comparison instead of a memory test.
8. Build a safer photo routine for future listings
Create a repeatable checklist. Use the same sequence every time: wipe the lens, take the main photo in daylight, add a close-up of condition, show any included accessories, and check for text overlays before upload. If the background is messy, fix it before the first shot. A plain wall or clean floor can save 10 minutes of review delay. That is not glamorous, but it works.
Give each file a clear name before upload. “chair-front-01” is better than “IMG_4827.” File names do not replace a good photo, but they help you track what was posted if moderation asks for a revision later. Keep the original files in one folder so you can replace a flagged image fast. One organized folder can save a listing.
Use the same review habit every time you post. Check lighting, framing, background, and whether the photo shows the actual item and quantity. Then ask one final question: would a buyer know exactly what they are getting from these images alone? If the answer is no, the photo set is not ready. Sellers who want a second reference for delivery-related image checks can also revisit वर्गीकृत विज्ञापनों पर बेचते समय शिपिंग before the next upload.
Keep the routine strict on the next 5 listings. If the first three pass with cleaner photos, the new habit is working. If one still fails, compare the file type, order, and whether any image contains text or a screenshot. That comparison gives you the next correction without guesswork.