How to Delete Old Listings in Bulk on a Marketplace
Learn how to delete old listings in bulk on a classifieds marketplace safely by checking tools, filtering stale posts, and removing batches.
On this page
- Confirm What “Bulk Deletion” Means on This Marketplace
- Decide Which Listings Are Safe to Remove
- Prepare a Safe Deletion List Before You Start
- Use the Fastest Bulk-Removal Path Available
- Handle Listings That Can’t Be Deleted in One Batch
- Clean Up Duplicate or Stale Copies After the Main Batch
- Verify the Deletion Worked
- When Bulk Deletion Is Not Available
Confirm What “Bulk Deletion” Means on This Marketplace
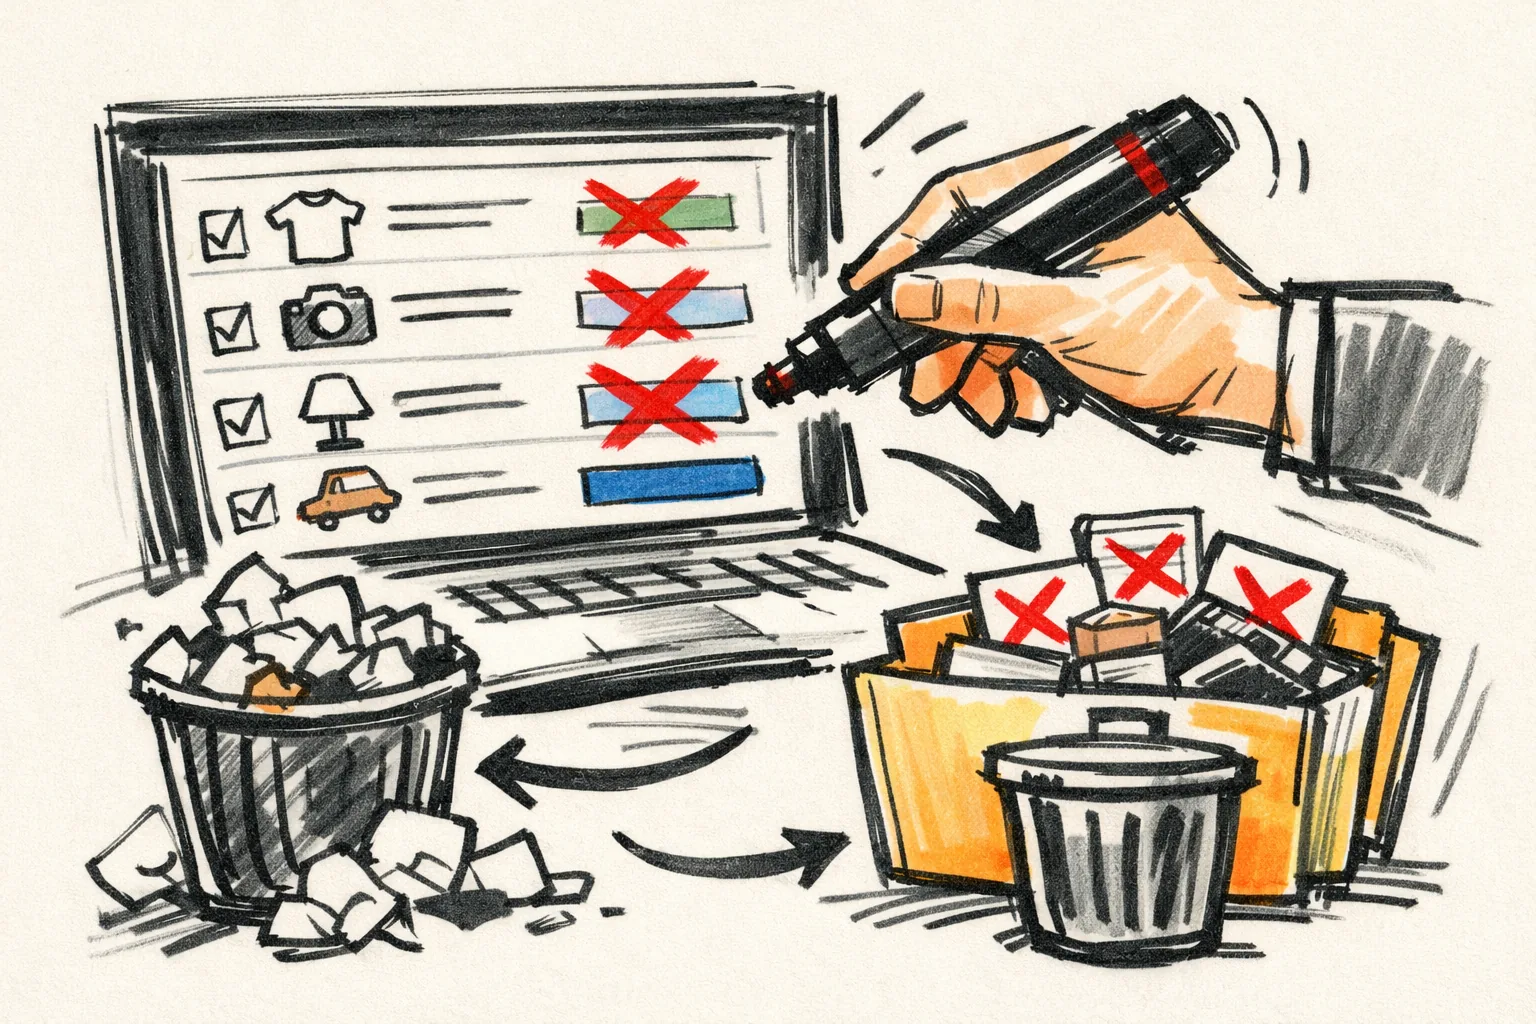
The first task is simple: confirm what the marketplace actually lets you do. On some sites, “bulk deletion” means ticking 20 listings and removing them in one action. On others, you get archive-only controls, or a hidden moderation menu, or nothing beyond single-item removal. That difference matters, because the wrong assumption can cost you an hour and leave half the listings untouched.
Open the seller dashboard and look for words like “select all,” “manage listings,” “archive,” or “delete.” If you only see one card at a time, the site may not support batch removal at all.
Use the exact phrase how to delete old listings in bulk on a classifieds marketplace as a check against the help center search if the menu labels are vague. A platform may describe the feature in its own language, not yours. That tiny mismatch wastes time. A lot of time.
Decide Which Listings Are Safe to Remove
Start with a quick sort, not a long audit. Filter by date first, then status, then category. Old listings from 90 days ago are a good place to begin, but only if your marketplace shows date fields clearly.
Next, separate active listings from stale ones. A sold item, an expired post, and a duplicate draft are not the same thing. If a listing still receives messages, do not delete it until you know whether that conversation matters. One careless click can break a pending sale.
Performance helps here. Listings with zero views, zero replies, or no saves for several weeks are often safe candidates for removal. A listing in a seasonal category, though, may look dead in July and become useful again in November. Keep that in mind.
One quick method works well: make three columns on paper or in a note app. Column 1: delete now. Column 2: review later. Column 3: keep. It sounds basic because it is. Basic is good when 40 items are involved.
Prepare a Safe Deletion List Before You Start
Before you remove anything, create a record of the listings you plan to delete. Copy each title, listing ID, price, category, and posting date into a note or spreadsheet. If the marketplace shows photo thumbnails, take screenshots too.
This record gives you something to compare later if a post disappears too early or a repost needs to be recreated. It also helps when you discover that two listings are actually the same item with slightly different titles. That happens more than sellers admit.
Keep the list short and usable. Ten fields are too many if you will not read them again. Six is usually enough: title, ID, date, price, status, and note. If the site lets you export listings as CSV or PDF, save that file before you delete anything.
Do not skip the photo check. A chair, a phone, and a jacket can all blur together after 30 listings. Screenshots settle disputes fast. They also help if you need to prove that a listing existed before deletion.
Use the Fastest Bulk-Removal Path Available
Most marketplaces put the fastest route in one of four places: the dashboard, a seller tools page, a listing manager, or a moderation menu. Begin with the seller dashboard because it usually exposes checkboxes and batch buttons first. One click can be the difference between five minutes and fifty.
Look for multi-select controls above the listing table. Some sites place them at the top left, some at the far right, and some only after you switch from card view to list view. If there is a “select page” option, test it on a small group before selecting all. A bad batch action on 120 items is not a fun discovery.
If the marketplace hides bulk actions behind icons, hover over each one. “Archive,” “pause,” “hide,” and “delete” are not interchangeable. Archive may keep the listing visible to you but hidden from buyers. Delete may remove the post and the messages tied to it. The exact behavior varies by platform.
One useful shortcut is to work in one category at a time. Furniture first, then electronics, then clothing. Category grouping reduces mistakes because old listings in the same section tend to share the same status and cleanup rules. It also keeps you from deleting a live listing in a rush.
If the platform offers a seller tools page with filters, use them before you select anything. Filter by “expired,” “inactive,” or “sold” if those labels exist. Then remove only what the filter shows. That sounds cautious because it is.
Handle Listings That Can’t Be Deleted in One Batch
Some listings refuse batch removal. A post may be restricted, flagged, boosted, under review, or attached to open messages. When that happens, do not force the whole batch again. Split the problem list away from the deletable list and deal with it separately.
Open the item details for each blocked listing and look for the reason. A boosted listing may need to expire before it can be removed. A sold listing may be locked because the buyer conversation is still active. A flagged listing may be waiting for moderation and therefore unavailable for deletion.
Make three groups: deletable now, needs manual attention, and keep. That division saves time. It also stops a small issue from breaking the entire batch action. If one item fails, some marketplaces cancel the rest of the batch. Annoying, yes. Common, too.
If messages are the problem, save the conversation first if the site allows it. If a listing is tied to payment history or shipping status, wait until that process is complete. For more on transaction risk while removing classifieds posts, see वर्गीकृत विज्ञापनों पर बेचते समय शिपिंग. That matters when the item is still moving.
Do not try to outsmart the system by reposting a restricted item and deleting the old copy later. That usually creates more cleanup, not less. The safer move is to isolate the restricted listing and finish whatever the marketplace requires first.
Clean Up Duplicate or Stale Copies After the Main Batch
Duplicate listings are common when sellers repost the same item after a delay or use a marketplace tool that copies old content forward. After the main batch is gone, search for near-identical titles, similar photos, and the same price. Two copies of the same table do not help anyone.
Focus on stale copies that survived the first pass because they sit in another folder, another status, or another account tab. Sometimes a repost tool creates a draft that looks invisible until you switch views. Sometimes the duplicate is only one image different. That is still a duplicate.
Remove the older version if the newer one is active and correct, or remove the newer one if it was created by mistake. The key is consistency. Leave one clean record, not two half-finished posts with the same item number.
If the marketplace groups duplicates under “reposts” or “boosted copies,” handle those one by one. A bulk action may not catch them all, and a hidden copy can keep appearing in search results. That is how stale inventory lingers for weeks.
Verify the Deletion Worked
Check the active tab first, then archived, then hidden or expired. Do not assume the batch worked just because the screen refreshed. Some marketplaces delay the update by a few minutes, especially after deleting 20 or more listings.
Open a sample of the removed items by ID if the site still shows them in search history or dashboard logs. If the listing is gone, save a screenshot of the empty state or confirmation notice. If the marketplace shows a “still processing” banner, wait and recheck before deleting anything else.
Keep evidence when results look inconsistent. A screenshot with the date, time, and listing count can save a support ticket later. If the site shows a mismatch between “deleted” and “still active,” note the exact IDs. Numbers help. Screenshots help more.
One good habit is to make a tiny verification log with three columns: ID, status after deletion, and date checked. That takes two minutes. It can save an hour of back-and-forth with support.
When Bulk Deletion Is Not Available
Some marketplaces simply do not offer bulk deletion. If that is the case, build the fastest manual workflow you can. Start with a sorted list, open listings in separate tabs, and delete them in the same order every time. Repetition saves energy.
Browser tools help. Use bookmarks, tab groups, or a second window to keep your place. If the site allows keyboard navigation, learn the shortcut for next item, back, and confirm. A manual cleanup of 30 listings is less painful when you do not keep losing your place.
Work in blocks of 10. After each block, refresh the dashboard and make sure the count drops. If the count does not change after several attempts, stop and look for a site limitation, a pending moderation status, or a cached view.
When manual cleanup reaches a hard limit, contact support with your saved IDs and ask for a cleanup request. Include the number of listings, the category, and the date range. Some marketplaces will only help if you can name the specific items. That is why the record you made earlier matters.
If the site has a help article about removal or archived posts, read it before sending a ticket. A support agent is faster when you already know whether the platform treats deletion, archiving, and hiding as different actions. The labels may look similar, but the results are not.
For sellers who are also managing payouts or buyer handoff, keep an eye on transactions tied to old listings. The cleanup step is not just housekeeping. It can affect message threads, sales records, and future reposts. If you need a reminder about that risk, the shipping guidance at वर्गीकृत विज्ञापनों पर बेचते समय शिपिंग is a useful cross-check before you remove anything that still has a live buyer attached.
One last practical rule: if the marketplace lets you delete only 5 items at a time, do not fight it. Batch the work in 5s, save the IDs, verify each round, and keep going until the list is gone.