How to Post a Listing on Admister Step by Step
Learn how to post a listing on Admister step by step with the right category, form details, photos, and visibility settings.
On this page
- How to Post a Listing on Admister Step by Step
- 1. Choose the Right Listing Type for Your Goal
- 2. Gather the Details You’ll Need Before You Create the Classifieds Listing
- 3. Open the Ad Submission Path on Admister
- 4. Fill Out the Ad Form Step by Step
- 5. Add Media and Set Visibility Options
- 6. Review for Policy, Accuracy, and Missing Fields
- 7. Publish the Listing and Confirm It Went Live
- 8. What to Do if the Listing Is Not Appearing as Expected
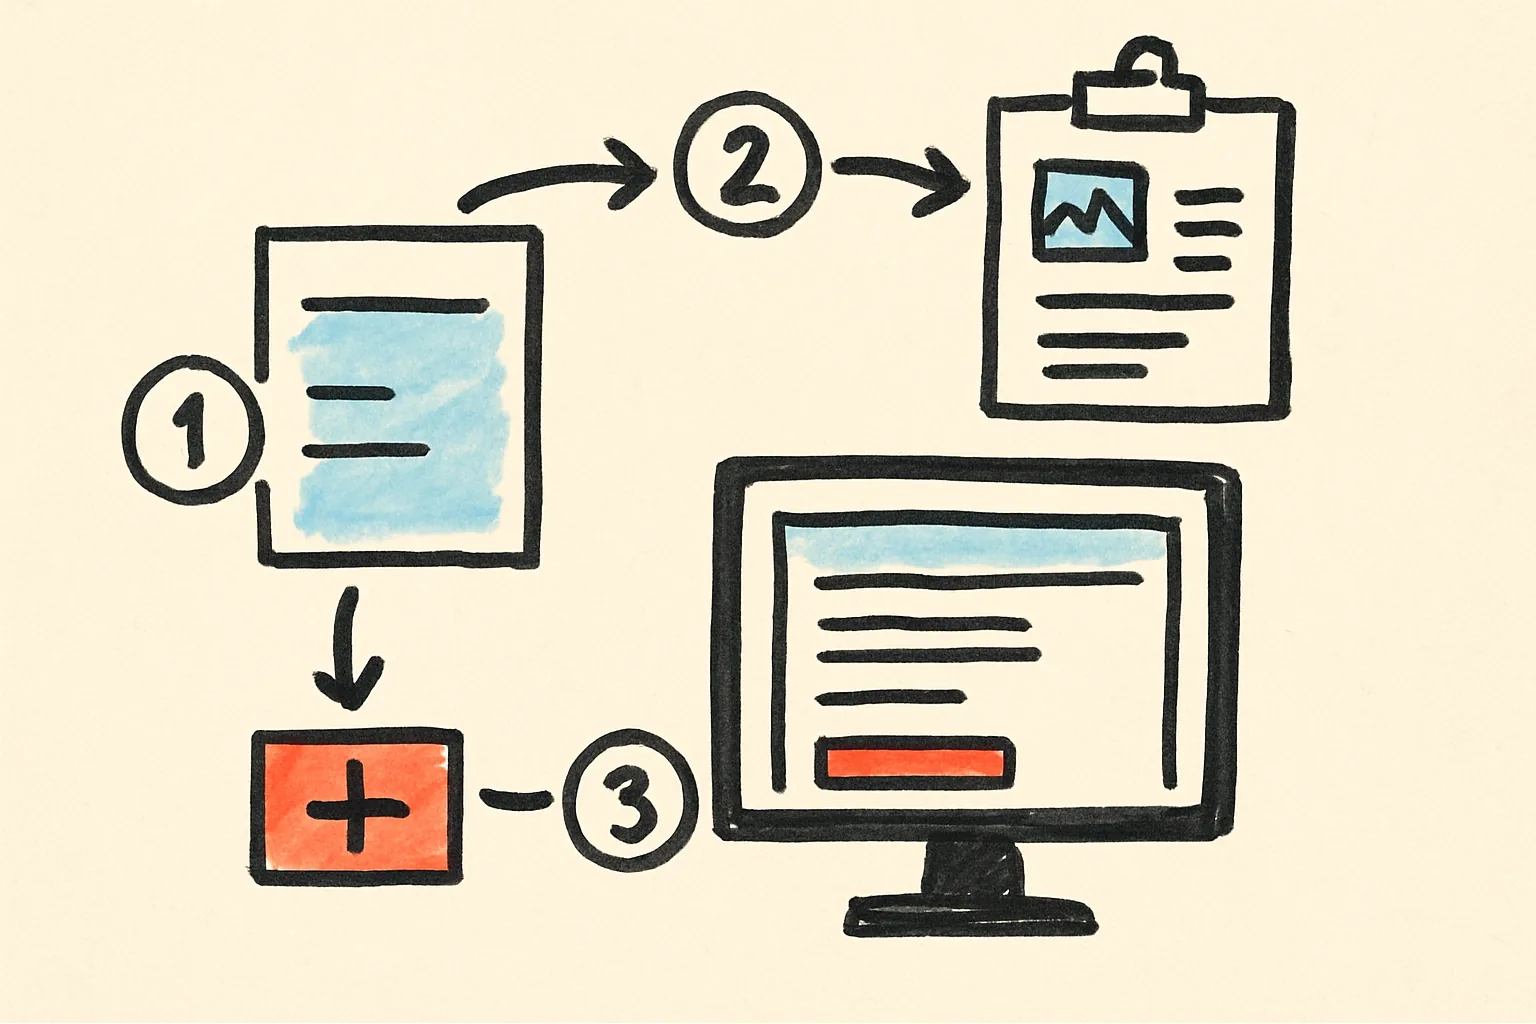
How to Post a Listing on Admister Step by Step
If you want to post an ad on Admister, the first decision is not the form. It is the format. A service ad, a normal item listing, and another classifieds format can look similar at a glance, but they are not the same thing, and choosing wrong can send your post into the wrong category before anyone sees it.
That mistake costs time. A cleaning service does not belong in the same lane as a used chair, and a rental-style offer may need different fields from a one-off sale. If you already know the goal, you can move faster and avoid the quiet frustration of redoing half the form later.
1. Choose the Right Listing Type for Your Goal
Start with the purpose. Are you selling one object, offering a service, or advertising something that should be answered like a local classifieds post? That single choice shapes the rest of the process, because the form, the category tree, and even the wording you use may change depending on the listing type.
A used laptop needs item details, while a tutor or repair technician needs service details. A room for rent may sit in a different category again. If you are unsure, check the category labels before you begin, because a wrong category can make an otherwise decent post look careless.
Some users rush this part and regret it later. Don’t. The right format helps people understand what you are offering in 3 seconds, which is usually about how long they give a new ad before moving on.
If you need a broader overview of the platform before you start, how admister works is the place to compare the basic posting flow with the rest of the site.
2. Gather the Details You’ll Need Before You Create the Classifieds Listing
Before you create classifieds listing, gather the facts that will be asked for anyway. A working title, a short description, your location, the best contact method, and any category-specific document or license fields should be ready before you open the form. A few minutes of prep saves a lot of tab-switching.
For a service ad, you may need your service area, business name, or proof of eligibility. For a local offer, the neighborhood or city matters more than a street address, especially if the form only accepts broad location fields. If there are documents to upload, have them open and named clearly before you start.
Think in specifics. “Reliable help” is too vague. “Weekend furniture assembly in East London” says more in 6 words than a page of filler. That kind of wording helps people decide whether your post fits them, which is the whole point.
You should also decide how people will reach you. If the site offers chat, email, or phone contact, choose the one you can answer quickly. Slow replies can make a good ad look dead.
For common posting questions, the site’s frequently asked questions page can save you from guessing about account or category rules.
3. Open the Ad Submission Path on Admister
Once your details are ready, move to the posting area. On most classifieds platforms, the path begins with a “create,” “post,” or similar button, usually visible near the top of the page or inside your account area. The exact label may change, but the action is the same: start a new ad, not an item listing workflow.
That difference matters. A classifieds post often begins from a general submission path, while a product listing may ask for item-specific fields much earlier. If you land on the wrong screen, back up and look for the general ad option instead of forcing your way through the wrong form.
One short pause here helps. Check that you are signed into the right account. Then look for the entry point that clearly leads to a new ad, not a saved draft list or account settings page. Two clicks can save ten minutes.
If you want help with account access or submission problems, the support page for admister explains where to go next.
4. Fill Out the Ad Form Step by Step
The form usually starts with category selection. Pick the nearest exact match, not the nearest convenient one. A tutoring offer placed under “general services” may be approved, but it will look less precise than a tutoring category if one exists.
Next comes the title. Keep it short and direct. A good title tells people what the ad is, where it matters, or why it is different. “Mobile bike repair in Brighton” works better than “Great service available.” The first is specific; the second is noise.
The description should answer the obvious questions in plain language. What are you offering? Who is it for? What area do you serve? What makes the ad relevant today? You do not need drama. You need enough detail that the reader can decide without messaging you first.
Location usually comes after the description or close to it. Use the exact city, district, or service area the form asks for. If the ad is local, do not pretend it is national unless the platform specifically supports that reach. A too-wide location can bring the wrong messages.
Then comes price or offer type. Some forms ask for a fixed price, some for a starting price, and some for “free,” “exchange,” or “contact for quote.” Choose the option that matches your actual offer, because mismatched pricing fields are one of the easiest ways to make an ad look unfinished.
Finish with contact preferences. If the platform allows multiple methods, choose the one you can monitor. A phone number that goes unanswered all evening is worse than no number at all. If a field asks whether calls are okay, answer honestly. A simple yes or no is enough.
5. Add Media and Set Visibility Options
Photos help people trust the ad, even when the offer is small. If the form allows media uploads, add the clearest images first and pick a cover image if the site offers that option. One strong picture is better than five dark ones. Nobody wants to zoom into shadows.
Use images that match the ad. If the listing is for a service, a photo of your work, your tools, or a finished example makes more sense than a stock image. If the ad is for an item, show the actual item. That sounds obvious, but it is still the most common place where ads lose trust.
Visibility settings matter too. Some forms let you choose public reach, local reach, or a limited audience. If there is an option to hide sensitive contact details until a message arrives, consider it. The right setting depends on the ad, not on what sounds easiest.
This is the part where you can really post a listing on Admister step by step without rushing. Upload the media, check the order, and confirm whether the cover image shows the main offer clearly. A blurry first photo can sink the whole post before the description gets a chance.
6. Review for Policy, Accuracy, and Missing Fields
Before you hit publish, scan the form like a stranger would. Check for duplicate wording, missing contact details, empty mandatory fields, and category mismatches. If the same sentence appears in the title and description, trim it. Repetition here looks lazy, not persuasive.
Also check policy issues. Some categories limit what you can say, how you can price an offer, or what documents you may need to show. A prohibited claim can block publication or send the ad into review. That is the kind of delay that feels small until your post is still invisible an hour later.
This final check is where people often catch the annoying errors: a phone number with one digit wrong, a location selected two counties away, or a title that says one thing while the description says another. Fixing those before submission is faster than chasing them after.
If your ad is meant to be public right away, review it twice. If it is a business or service ad, read it once as a customer and once as the person responsible for the ad. Two passes, two different mistakes.
7. Publish the Listing and Confirm It Went Live
Once everything is ready, submit the form. The site may show a confirmation screen, an on-page message, or an email notice. Keep that message. It often contains the first clue about whether the post is live, pending review, or waiting for approval.
Some ads appear immediately. Others wait for moderation. That is normal. A listing that is not visible right away does not always mean something went wrong; it may simply be sitting in a review queue. If the platform says approvals can take time, believe the platform instead of refreshing every 20 seconds.
After submission, look for the status label. Published, pending, draft, or error each means something different. Published is obvious. Pending means wait. Draft means the form was saved but not sent. Error means you need to fix one field before the post can appear.
At this point, you have finished the main job of creating the classifieds listing. The rest is confirmation, not re-entry. If a confirmation email arrives, save it for reference. One message can answer three questions later.
8. What to Do if the Listing Is Not Appearing as Expected
If your post is not showing, start with the simplest explanation. Check whether it was saved as a draft instead of published. Then look for a moderation note or an email about missing information. A hidden form error is common, and it often sits in one small field near the end.
Next, confirm that you are looking in the right account and the right category. A post created in one login will not appear in another. A service ad may also be placed in a review state that keeps it out of public search until a moderator checks it. That happens.
If the form failed during submission, the site may have kept the draft but not the live post. In that case, reopen the form, fix the flagged field, and submit again. A phone number, location, or category can block the whole listing if it is incomplete.
For users who need more help with account access, posting issues, or platform questions, the support article on keeping your account secure can also help you avoid login problems that interrupt posting.
When a post still does not appear after you have checked the draft, the status, and the moderation notice, stop guessing and inspect the exact submission path again. One missing checkbox is enough. One wrong category is enough. And yes, a single unchecked box can keep an otherwise solid ad from going live.