How to Inspect a Used Bicycle Before Buying Online
Learn how to inspect a used bicycle before buying online so you can spot fit issues, hidden damage, and costly repairs before paying.
On this page
- How to Inspect a Used Bicycle Before Buying Online
- 1. Match the bike to your body and use case
- 2. Decode the listing photos for hidden clues
- 3. Verify the serial number and ownership story
- 4. Check the frame, fork, and welds in close-up images
- 5. Inspect the drivetrain, wheels, and brake wear
- 6. Ask for proof of function: shifting, braking, and riding video
- 7. Check for missing extras, compatibility, and replacement costs
- 8. Decide when to walk away before you pay
How to Inspect a Used Bicycle Before Buying Online
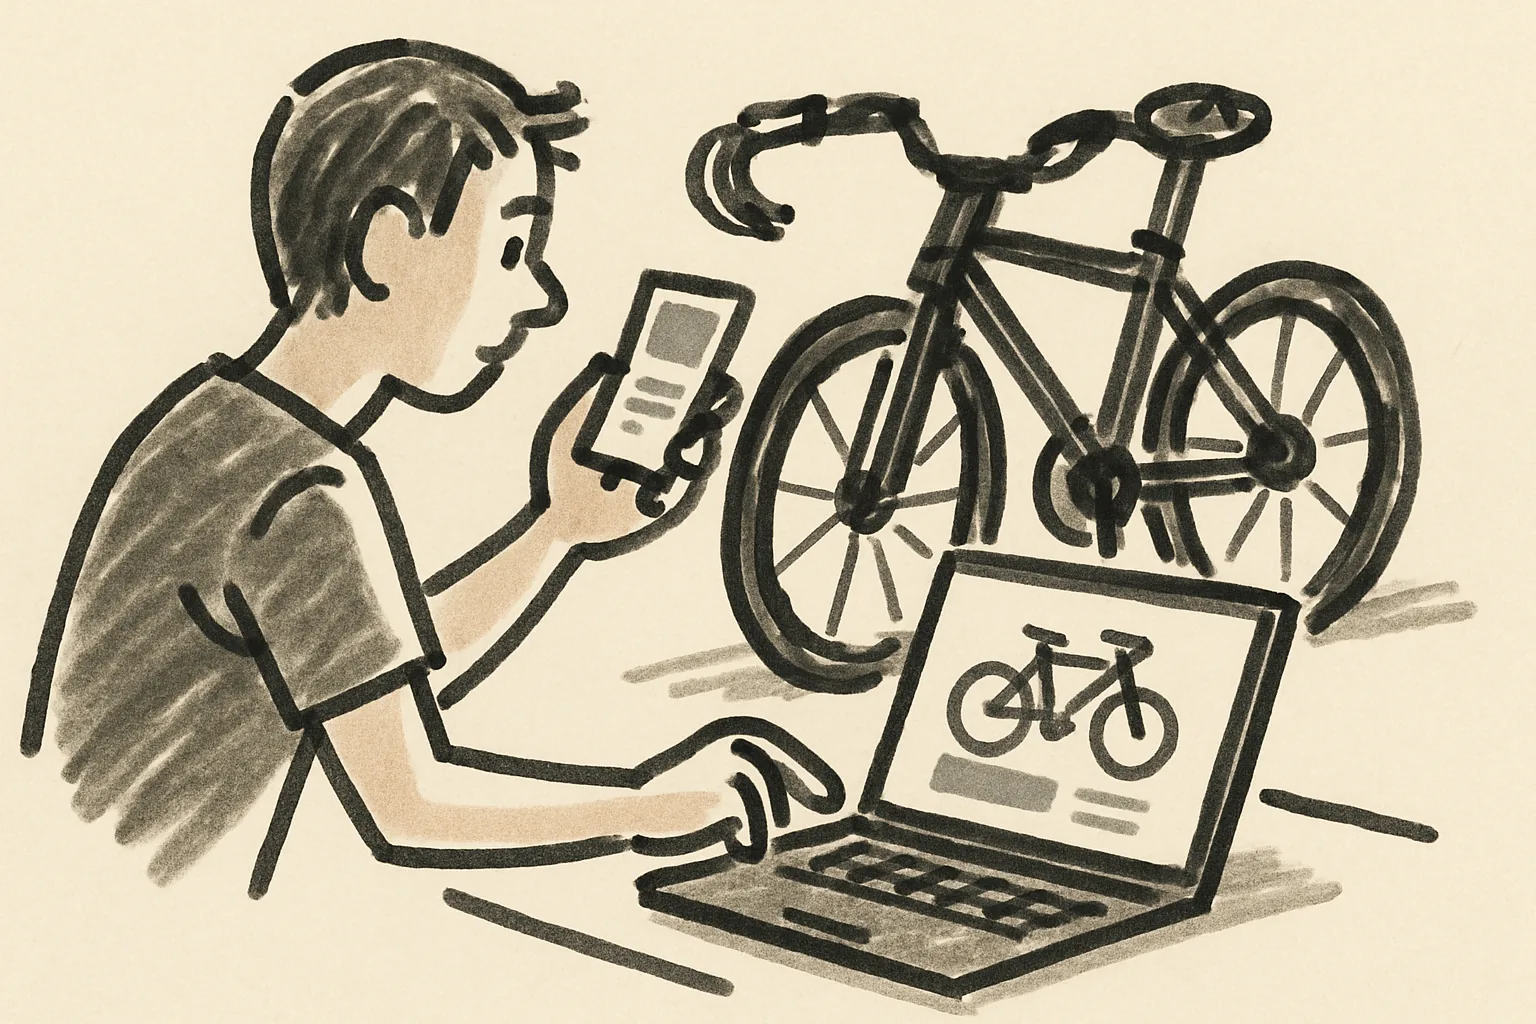
Buying a used bicycle online can save money, but it can also hide expensive problems. A bike that looks clean in 8 photos may still need a frame, fork, wheel, or drivetrain repair that costs more than the listing price. If you want to know how to inspect a used bicycle before buying online, start with the parts that affect fit, safety, and total cost. Not the paint.
One short call or message can save you hours. Ask for 3 extra photos, a serial number, and a short riding video before you send money. If the seller hesitates on basic proof, that answer matters. For broader marketplace habits, the guides on buying on admister and staying safe as a buyer are worth a quick read.
1. Match the bike to your body and use case
Fit comes first. A road bike, gravel bike, city bike, and trail bike are built for different positions and different terrain, and a listing that says “great all-rounder” may mean little. Ask for the frame size in centimeters or inches, then compare it with your height and inseam. A 54 cm road frame and a medium trail frame are not interchangeable.
Geometry matters more than most sellers admit. A bike with a long top tube can feel stretched even if the frame size sounds right, while a short wheelbase can feel twitchy at speed. If you want commuting comfort, a racing posture may punish your back on a 12 km ride home. If you want trail use, a city bike with narrow tires and rim brakes is the wrong tool.
Check the use case in plain words. A seller may list a bike as “gravel-ready,” but 25 mm tires and no mounting points usually tell a different story. Ask: has the bike been used for commuting, road riding, gravel, or trail use? A bike used for 3 years of wet commuting can wear out faster than one used on Sunday mornings only.
One small detail can change everything: standover height. If the top tube sits too high, the bike may fit on paper and still feel awkward in a real stop. A test ride would answer that in 2 minutes, but online buyers need measurements and photos instead.
2. Decode the listing photos for hidden clues
Listing photos often reveal more than the description. Look at the drive side, then zoom in on the non-drive side, because a seller may hide damage on the side they think looks worse. Scratches near the rear dropout, fork crown, or down tube can hint at crashes, transport damage, or a hard fall into a curb.
Paint touch-ups are not always a problem, but they deserve a question. Fresh paint on one spot, different gloss levels, or a sticker covering a mark may mean the bike took a hit. A bent derailleur hanger is tiny and easy to miss, yet it can shift poorly and make the whole bike feel “off” on every ride.
Watch for mismatched components. A road bike with a rear wheel from a different brand, a newer saddle, old shifters, and a random stem may simply be upgraded. It may also mean the original parts failed. The difference is in the details. Ask why the parts changed, and whether any crash, repair, or warranty work followed.
Rust and corrosion tell a story. Surface rust on chain bolts or brake hardware can be cosmetic, but heavy rust on spokes, chainrings, or bolt heads suggests storage in rain, a salty climate, or long neglect. If the bike is steel, rust on the frame deserves special caution. If it is aluminum, look closely at fasteners and bearing areas instead.
Zoom in on tires and grips, too. Bald center tread on a tire may show high mileage, while cracked sidewalls mean age, not just wear. Worn bar tape, shiny brake levers, and flat pedal pins can help you estimate how hard the bike has been used. Those little clues add up.
3. Verify the serial number and ownership story
Ask for the serial number before you commit. Most bikes have it stamped under the bottom bracket, on the rear dropout, or on the head tube area, though exact placement varies by brand. The number should appear in a clear photo that matches the listing photos and seller name. If a seller refuses, stop there.
Compare the serial number with the bike model, color, and build. A mismatch does not always prove anything, but it can expose a swapped frame, a stolen listing, or a story that changes once you ask one more question. Ask how long the seller has owned the bike, where it was bought, and whether the original receipt or service record exists.
Ownership stories matter because bikes move fast online. A bike “from a friend” with no receipt may be harmless, or it may be a bicycle that changed hands too often. Ask for one consistent account: where it was used, why it is being sold, and whether any parts were replaced after damage. Short answers are fine; vague answers are not.
If the seller cannot name the original shop, the last service, or the reason for sale, keep your money in your account. A lawful transfer is easier to prove when the story is simple. This is one of the few moments where a boring answer is a good sign.
4. Check the frame, fork, and welds in close-up images
The frame is the bike. Everything hangs from it. Ask for close-up photos of the head tube, bottom bracket, seat tube, chainstays, seatstays, and dropouts. Those are the places where impact, stress, and repair work usually show first.
On aluminum frames, look for ripples, dents, white oxidation around cracks, and paint lines that do not follow the tube smoothly. On steel frames, inspect for rust bubbles near welds and under paint chips. Carbon frames need different scrutiny: any impact mark, soft-looking paint wrinkle, or clear line in the weave deserves a closer image and a direct question.
Forks need the same care. A fork can hide damage after a front-wheel crash, and the damage may not appear in the main listing photos. Ask for a side shot and a front-on shot of the fork blades and crown. If the fork is carbon, ask whether it has ever been over-tightened, dropped, or transported with a front carrier clamp.
Welds should look even and consistent. Uneven beads, fresh filler, or paint that looks thicker around a joint can signal repair. A repaired frame is not always unusable, but you need the repair documented before you buy. If the seller says “factory finish” but the close-up says otherwise, trust the close-up.
For one simple rule, ask for the photo you would take yourself. That means daylight, no filters, and a 45-degree angle on the suspect area. If the seller keeps sending cropped or blurry images, the bike may be hiding something. The frame should be easy to show.
5. Inspect the drivetrain, wheels, and brake wear
Wear on a bicycle does not hide well. Look closely at the chain, cassette, chainrings, tires, wheels, and brake parts, because those are the items most likely to cost you money right after purchase. A clean frame with a tired drivetrain is still a tired bike.
Chain wear is the first clue. You may not be measuring stretch yourself online, but a greasy, sagging chain with shark-like chainring teeth usually points to real use. Worn cassette teeth often look hooked or uneven. If the seller says “new chain recently installed,” ask whether the cassette was changed at the same time. A new chain on a worn cassette can skip.
Wheels deserve more than a glance. Ask for a photo of the rim braking surface or rotor surface, depending on brake type. A rim with a deep wear line can be near the end of its life. A rotor with blue spots, grooves, or warping may need replacement. Spoke tension is hard to judge online, but a wheel with obvious wobbles in a video is not a healthy wheel.
Check the tires for age and not just tread. Cracking, dry sidewalls, or flattened center tread mean replacement soon. If the bike uses tubeless tires, ask whether the sealant has been refreshed. If the seller cannot answer, assume some extra work.
Brakes tell a short story. Rim brake pads with very little material left, contaminated pads, or levers that pull too close to the bar need attention. Disc brake pads can be thin even when the bike looks fresh in photos. Ask for a close-up of pad thickness, rotor condition, and lever position at rest. A bike that stops poorly is not a bargain.
6. Ask for proof of function: shifting, braking, and riding video
A still photo cannot show everything. Ask for a 20- to 30-second video that includes shifting through the gears, braking from a slow roll, and a short pass over smooth ground. The bike should not rattle, skip, or rub. If it does, you want to hear that before you buy.
Watch the rear derailleur in motion. It should move cleanly without hesitation or chain slap. If the chain jumps under load, the bike may need cable adjustment, worn parts, or hanger alignment. A seller who films the drivetrain from the wrong side may not be trying to hide anything, but you still need the full view.
Ask the seller to brake hard once from a slow speed. The wheels should stop in a straight line, not twist or scrape. Then ask them to rock the bike forward and back with the front brake held, which can reveal headset play or loose bearings. Little noises matter. A click at the front end may mean a loose stem or worn headset.
If the seller can lift the bike and spin both wheels, that helps too. You want to see whether the wheels run true, whether the tires wobble, and whether the brake rotors rub. A wheel that sounds rough on video may have hub bearing wear. That repair is rarely free.
7. Check for missing extras, compatibility, and replacement costs
The listing price is rarely the final price. Count the missing items before you agree to anything. Pedals may not be included. Lights, bottle cages, rack mounts, and a charger for an e-bike may be absent. If the bike uses a thru-axle, ask whether the correct axle is included, because replacements are specific and sometimes expensive.
Seatpost size matters more than buyers expect. A bike can be the right frame size and still need an unusual seatpost diameter or length. Ask the seller to measure the seatpost and note whether it is original. The same goes for handlebars, stems, and axle spacing. Standard-looking parts are not always standard.
For e-bikes, ask for battery age, charger type, display, and any error codes. A missing charger can turn a good deal into a headache. If the battery is removable, ask for a photo of the battery label and connector. If the battery is built in, ask how it was stored and whether it still holds a charge.
Replacement costs add up in predictable ways. New tires, brake pads, chain, cables, and bar tape can be routine; a cracked frame is not. If the seller lists a “ready to ride” bike but the photos show worn tires, a dirty chain, and thin pads, the bike is not ready. It is waiting for your wallet.
8. Decide when to walk away before you pay
Walk away if the seller will not provide photos, a serial number, or a clear ownership story. Walk away if the frame has unexplained damage, the fork looks suspect, or the riding video reveals noise that the seller ignores. One red flag can be a warning. Three are enough.
Ask for the last service date, any crash history, and the reason for selling in writing. If the bike has had a major repair, note exactly what changed. That written record matters if the bike arrives with a hidden problem. Messages are cheap; disputes are not.
Use a final check before payment: model, size, serial number, key photos, riding video, included parts, and stated condition. If any of those are missing, pause. A seller who answers everything clearly has made your decision easier. A seller who answers half of it has made it easier too.
If you still need a process to compare marketplaces, the page on how admister works explains the basic steps, and the buying & selling guides can help you judge whether the listing gives enough proof for a safe purchase. That last judgment is yours, and it should be made before you pay, not after the box arrives.